
The Cricut is such an amazing machine. With so many different materials to work with the possibilities to create custom projects is limitless. Today, I'm sharing my "Home is Where the Hygge Is" pillow tutorial. If you've never worked with glitter iron on vinyl before, add it to your Cricut bucket list.
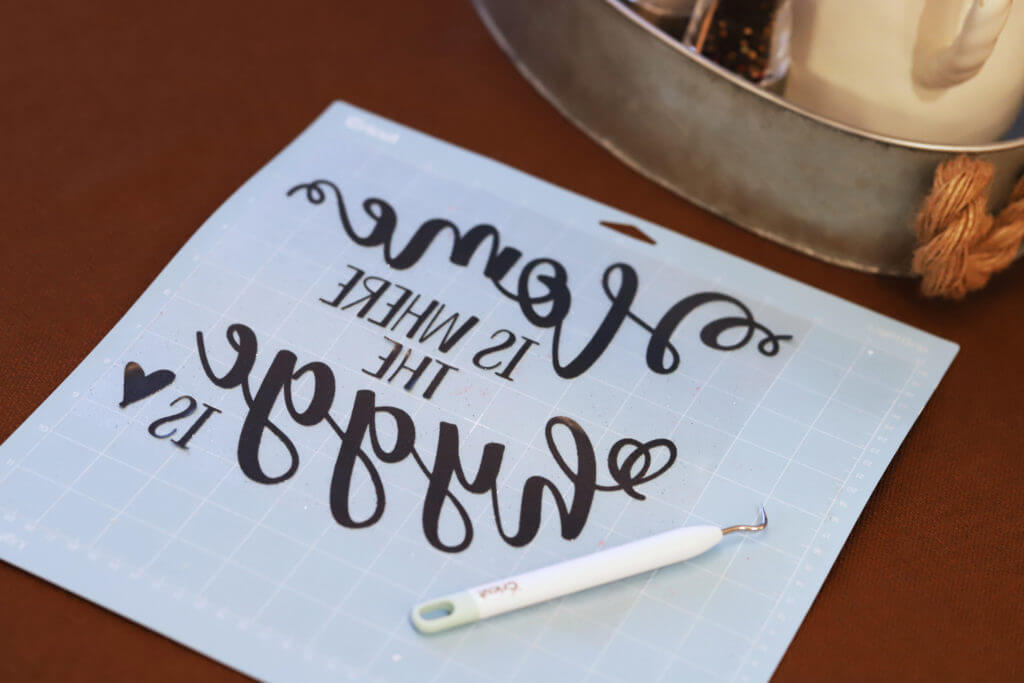
With your Cricut, cut your design onto glitter vinyl. Make sure when you print the design that it's a mirrored image, so it reads the correct way when transferred onto the fabric pillowcase.
Prep the pillowcase by making sure that any creases have been ironed out.

Place the vinyl design onto the top of the pillowcase. Align the design to where you want it. I usually measure to make sure I have it completely centred.

Place a piece of parchment paper between your design and the iron. With the iron on the cotton/linen setting, press and firmly hold the iron over the different parts of the design for 10-15 seconds. When moving the iron to another area, lift the iron up instead of sliding it over the design.

Start to remove the plastic sheet. If there are areas of the glitter vinyl design which are lifting from the pillow, reapply heat to the area to ensure the vinyl sticks to the fabric pillowcase.

Stand back and admire your finished project!
I absolutely love how this pillow turned out. I love how the cream colour of the linen pillowcase complements and contrasts against our dark brown leather couch. I love how the glitter vinyl catches the light and adds a little bit of sparkle to the room. And most of all I love the message... It's a cute little reminder that the cozy comfy loving feeling of hygge lives in our house!
